Table of Contents
为您的蜡烛选择合适的灯芯大小
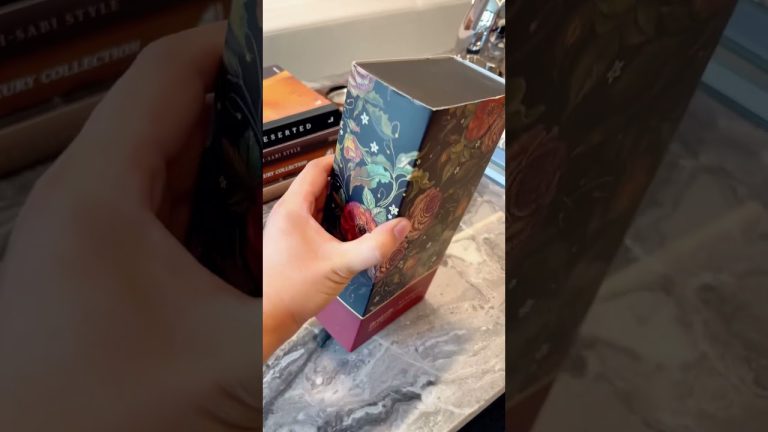
香味蜡烛定制
要确定蜡烛的合适的灯芯尺寸,您可以参考制作供应商提供的灯芯尺寸图表。这些图表通常会根据容器的直径和所使用的蜡类型推荐一个特定的灯芯尺寸。
考虑选择灯芯尺寸时使用的蜡类型也很重要。不同的蜡具有不同的熔点和燃烧特性,因此选择与您正在使用的特定蜡类型兼容的灯芯至关重要。
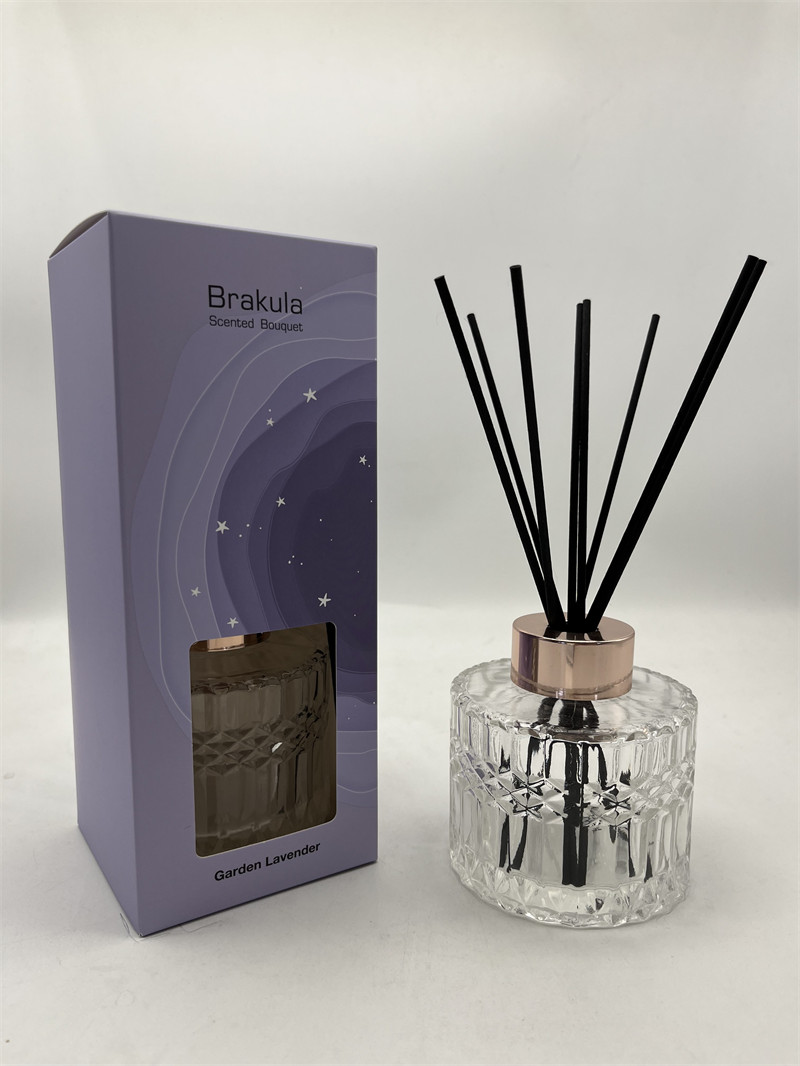
产品
| 房间除道 | materials |
| 定制 | 适合 |
| 体育馆 | 气味 |
| 新鲜的棉花,无花果和玉米饼 | Accition |
| 180ml | Color |
| silver | Origin |
| 中国供应商 | 期限 |
| 1年 | 一旦选择了蜡烛的正确的灯芯尺寸,就可以继续进行蜡烛制作过程的下一步:更换灯芯。 |
更换烛芯是一个简单的过程,只需几个简单的工具就可以完成。要替换灯芯,您将需要一对剪刀,一个灯芯支架和一个新的灯芯,这是适合您蜡烛的正确尺寸的新灯芯。卸下旧的灯芯时,请注意不要损坏灯芯标签或容器。灯芯的长度将取决于容器的大小和所使用的蜡的类型。您可以使用少量的热胶将其固定在适当的位置。您可以在倒蜡时使用灯芯支架将灯芯保持在适当的位置。这将有助于确保清洁甚至燃烧。
总而言之,为蜡烛选择合适的灯芯大小对于成功燃烧至关重要。考虑容器的直径,所使用的蜡类型,并参考灯芯尺寸图表,以确定蜡烛的正确灯芯尺寸。更换灯芯时,请使用适当的工具和技术来确保清洁甚至燃烧。凭借正确的灯芯尺寸和适当的替换技术,您可以为自己创建美丽而持久的蜡烛,也可以作为给他人的礼物。
替换蜡烛灯芯的分步指南
最后,您的蜡烛可以使用。点燃它并享受它所创造的氛围,因为您知道您已经成功地取代了灯芯并振兴了蜡烛。通过遵循以下步骤,您可以确保蜡烛有效,精美地燃烧,在更多场合提供温暖和光线。
Replacing a candle wick is a straightforward process that can extend the life of your favorite candles and enhance their performance. Whether the wick has burned down too low or has become damaged, knowing how to replace it can save you money and allow you to enjoy your candles to the fullest. To begin, gather the necessary materials, which typically include a new wick, wick sustainer, scissors, a heat source, and a suitable adhesive. It is also advisable to have a small container to hold any melted wax and a pair of tweezers for precision handling.
First, ensure that the candle is completely cooled and hardened. This step is crucial, as working with hot wax can lead to burns or accidents. Once the candle has cooled, carefully remove the old wick. If the wick is still partially intact, you can gently pull it out using tweezers. However, if the wick is too short or has burned down into the wax, you may need to melt a small portion of the wax at the top to loosen it. To do this, use a heat source such as a hairdryer or a heat gun, applying heat to the surface of the candle until the wax softens. Be cautious not to overheat the wax, as this can lead to a mess or even damage the candle.
After successfully removing the old wick, it is time to prepare the new wick. Cut the new wick to the desired length, ensuring it is slightly longer than the original wick to allow for proper burning. Next, attach the wick sustainer to the bottom of the new wick. This sustainer will help keep the wick upright and centered during the burning process. To secure the wick sustainer, you can use a small amount of adhesive or melted wax. If using melted wax, simply dip the bottom of the sustainer into the warm wax before placing it at the bottom of the candle container.
Once the new wick is prepared and secured, it is essential to reintroduce the wax. If you have melted any wax during the process, carefully pour it back into the candle container, ensuring that the new wick remains centered. If you do not have enough wax to fill the container, you may need to melt additional wax to top it off. When melting new wax, be sure to use a double boiler method to prevent direct heat, which can cause the wax to burn or discolor.
After pouring the wax, allow it to cool and harden completely. This process may take several hours, depending on the size of the candle and the amount of wax used. Once the wax has solidified, trim the wick to about a quarter of an inch above the surface of the wax. This length is optimal for burning, as it allows for a steady flame without producing excessive soot or smoke.
https://reedaromalab.com/tag/good-scent-diffuser-best-chinese-makerFinally, your candle is ready for use. Light it and enjoy the ambiance it creates, knowing that you have successfully replaced the wick and revitalized your candle. By following these steps, you can ensure that your candles burn efficiently and beautifully, providing warmth and light for many more occasions.