Table of Contents
Selecting the Right Wick Size for Your Candle
Selecting the right wick size for your candle is a crucial step in ensuring a successful burn. The wick plays a significant role in how your candle will perform, so it’s essential to choose the correct size for the type of wax and container you are using.
When selecting a wick size, you’ll want to consider the diameter of your candle container. A wick that is too small will not create a large enough flame to melt the wax evenly, while a wick that is too large may cause the candle to burn too hot and fast.
Scented Candle customization
To determine the right wick size for your candle, you can refer to wick size charts provided by candle making suppliers. These charts typically recommend a specific wick size based on the diameter of your container and the type of wax you are using.
It’s also important to consider the type of wax you are using when selecting a wick size. Different waxes have different melting points and burn characteristics, so it’s essential to choose a wick that is compatible with the specific type of wax you are working with.
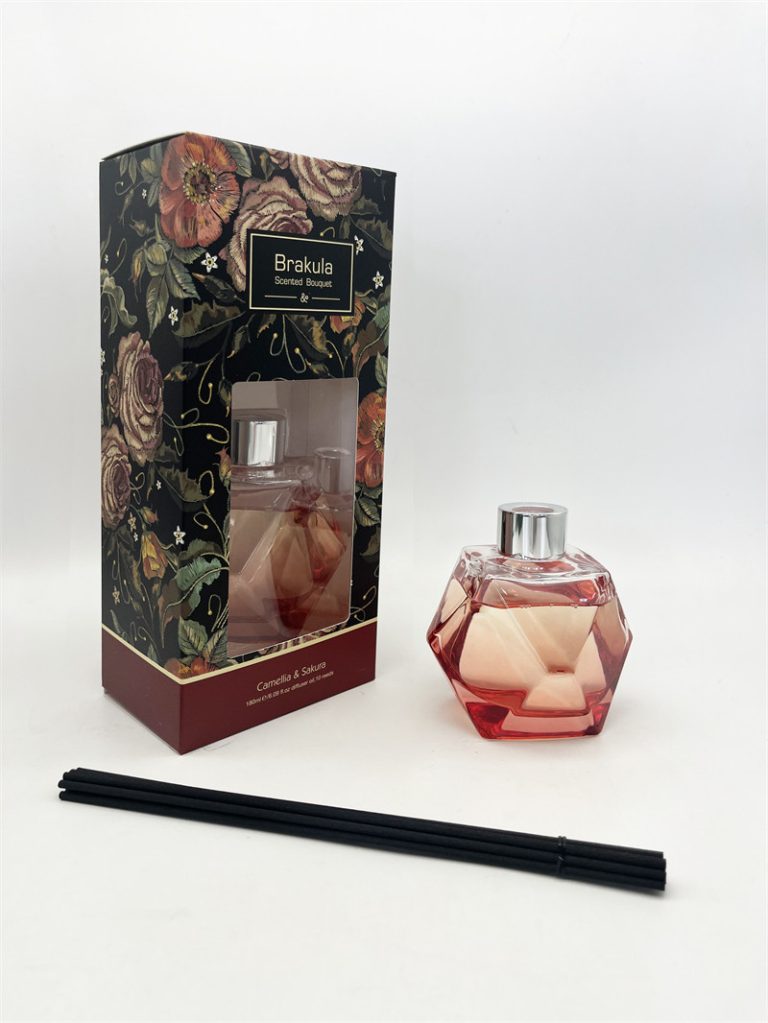
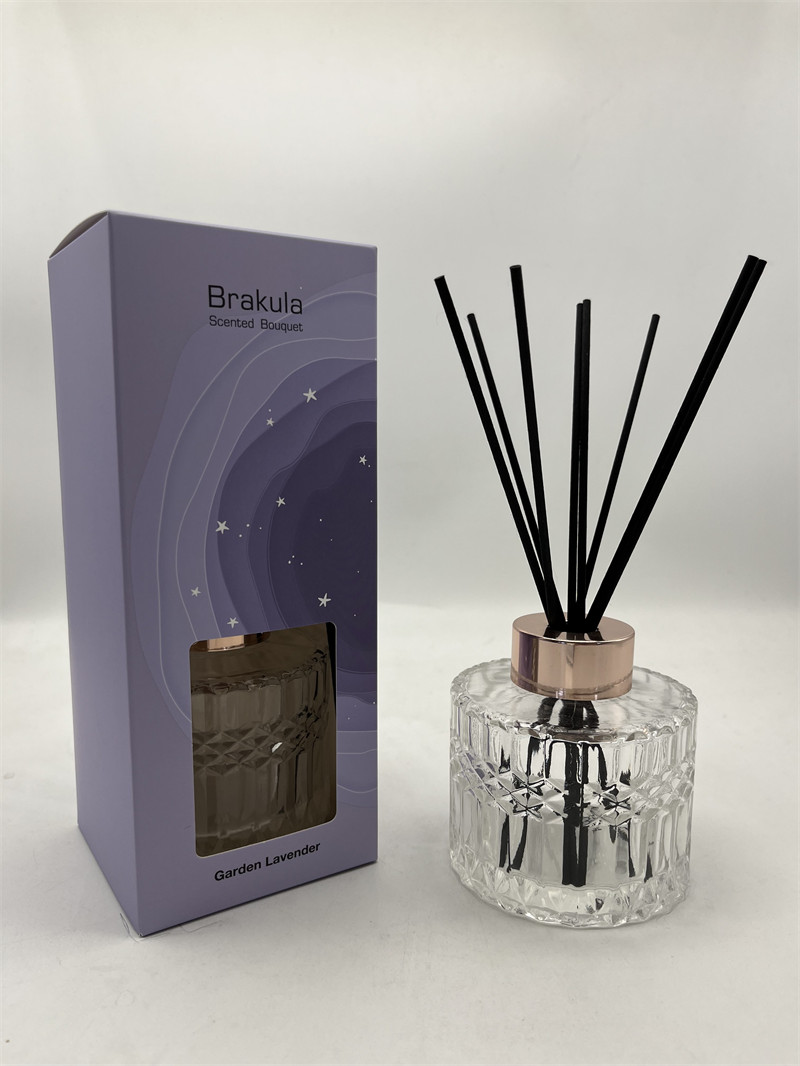
| Product | Room Deodorizers |
| Material | Customized |
| Suitable for | Gymnasium |
| Scents | Fresh Cotton, Fig & Cassis |
| Capacity | 180ml |
| Color | Silver |
| Origin | China Supplier |
| Duration | 1 year |
Once you have selected the right wick size for your candle, you can move on to the next step in the candle making process: replacing the wick.
Replacing a candle wick is a straightforward process that can be done with just a few simple tools. To replace a wick, you will need a pair of scissors, a wick holder, and a new wick that is the correct size for your candle.
Start by removing any remaining wax from the old wick using a wick trimmer or scissors. Be careful not to damage the wick tab or the container as you remove the old wick.
Next, thread the new wick through the wick holder and trim it to the desired length. The length of the wick will depend on the size of your container and the type of wax you are using.
Once you have trimmed the wick to the correct length, secure it in place by placing the wick tab at the bottom of the container. You can use a small amount of hot glue to hold the wick tab in place if necessary.
Before pouring the wax into the container, make sure the wick is centered and straight. You can use a wick holder to keep the wick in place while you pour the wax.
Once the wax has cooled and solidified, trim the wick to about 1/4 inch above the surface of the candle. This will help ensure a clean and even burn.
In conclusion, selecting the right wick size for your candle is essential for achieving a successful burn. Consider the diameter of your container, the type of wax you are using, and refer to wick size charts to determine the correct wick size for your candle. When replacing a wick, use the proper tools and techniques to ensure a clean and even burn. With the right wick size and proper replacement techniques, you can create beautiful and long-lasting candles for yourself or as gifts for others.
Step-by-Step Guide to Replacing a Candle Wick
Replacing a candle wick is a straightforward process that can extend the life of your favorite candles and enhance their performance. Whether the wick has burned down too low or has become damaged, knowing how to replace it can save you money and allow you to enjoy your candles to the fullest. To begin, gather the necessary materials, which typically include a new wick, wick sustainer, scissors, a heat source, and a suitable adhesive. It is also advisable to have a small container to hold any melted wax and a pair of tweezers for precision handling.
First, ensure that the candle is completely cooled and hardened. This step is crucial, as working with hot wax can lead to burns or accidents. Once the candle has cooled, carefully remove the old wick. If the wick is still partially intact, you can gently pull it out using tweezers. However, if the wick is too short or has burned down into the wax, you may need to melt a small portion of the wax at the top to loosen it. To do this, use a heat source such as a hairdryer or a heat gun, applying heat to the surface of the candle until the wax softens. Be cautious not to overheat the wax, as this can lead to a mess or even damage the candle.
After successfully removing the old wick, it is time to prepare the new wick. Cut the new wick to the desired length, ensuring it is slightly longer than the original wick to allow for proper burning. Next, attach the wick sustainer to the bottom of the new wick. This sustainer will help keep the wick upright and centered during the burning process. To secure the wick sustainer, you can use a small amount of adhesive or melted wax. If using melted wax, simply dip the bottom of the sustainer into the warm wax before placing it at the bottom of the candle container.
Once the new wick is prepared and secured, it is essential to reintroduce the wax. If you have melted any wax during the process, carefully pour it back into the candle container, ensuring that the new wick remains centered. If you do not have enough wax to fill the container, you may need to melt additional wax to top it off. When melting new wax, be sure to use a double boiler method to prevent direct heat, which can cause the wax to burn or discolor.
After pouring the wax, allow it to cool and harden completely. This process may take several hours, depending on the size of the candle and the amount of wax used. Once the wax has solidified, trim the wick to about a quarter of an inch above the surface of the wax. This length is optimal for burning, as it allows for a steady flame without producing excessive soot or smoke.
https://reedaromalab.com/tag/good-scent-diffuser-best-chinese-makerFinally, your candle is ready for use. Light it and enjoy the ambiance it creates, knowing that you have successfully replaced the wick and revitalized your candle. By following these steps, you can ensure that your candles burn efficiently and beautifully, providing warmth and light for many more occasions.