Table of Contents
تقنيات الصيانة والتنظيف المناسبة لنشر الزيت الأساسي
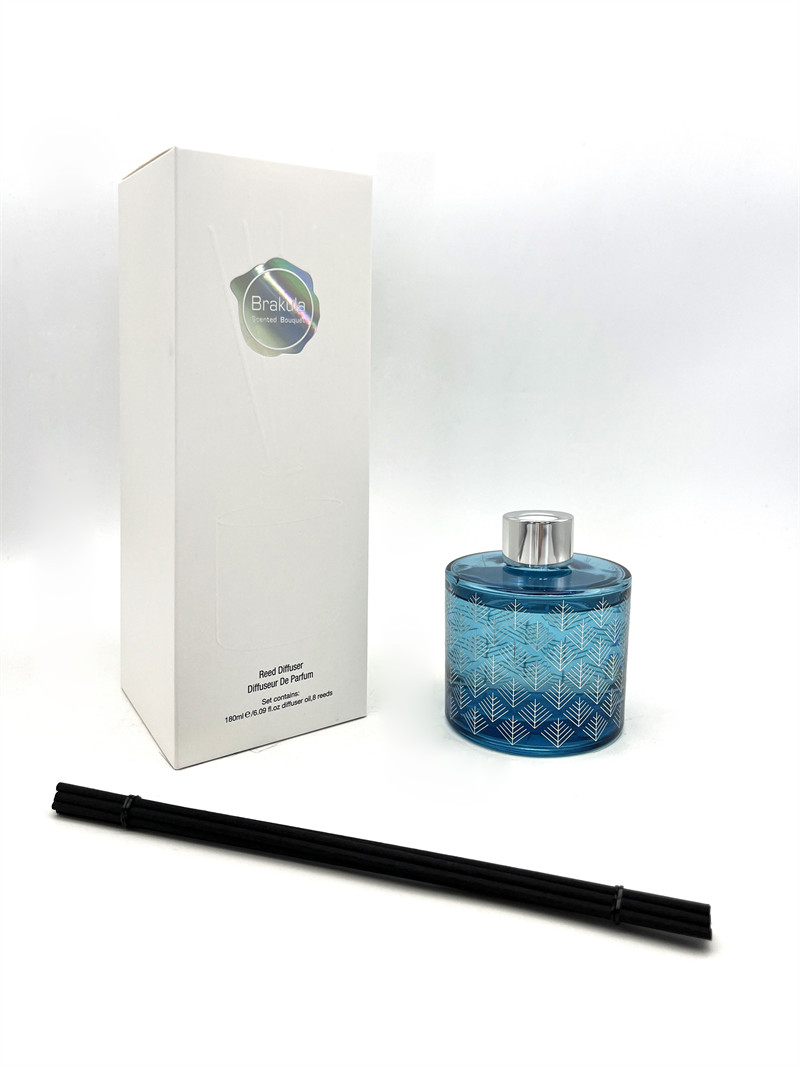
اسم المقالة
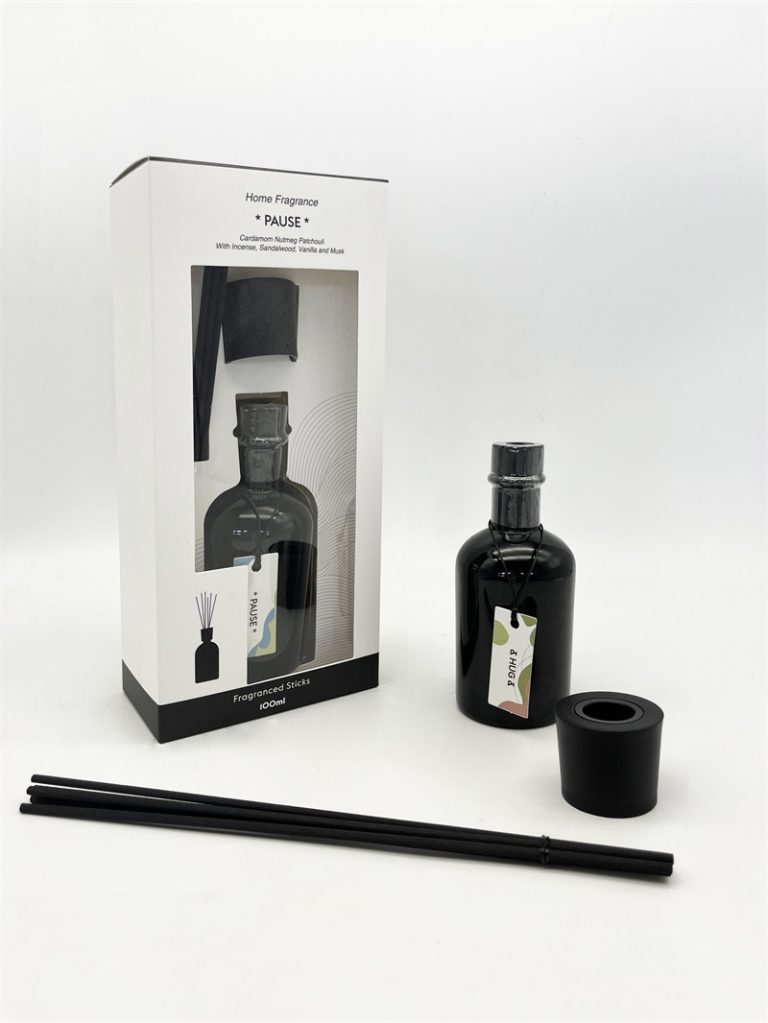
| الغرفة مزيل الرضاعة | tarics |
| latstic | مناسب لـ |
| marage | cents |
| لافندر وإكليل الجبل ، سكارليت ليلي | sction |
| 400 مل | Ollow |
| scarlet | صل |
| الصين تاجر الجملة | المدة |
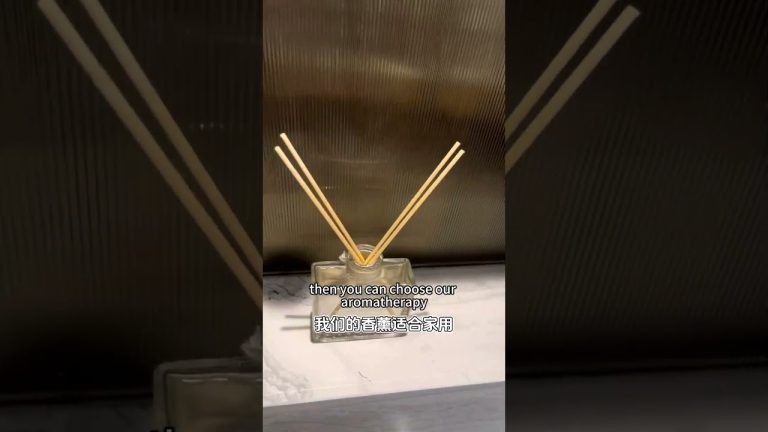
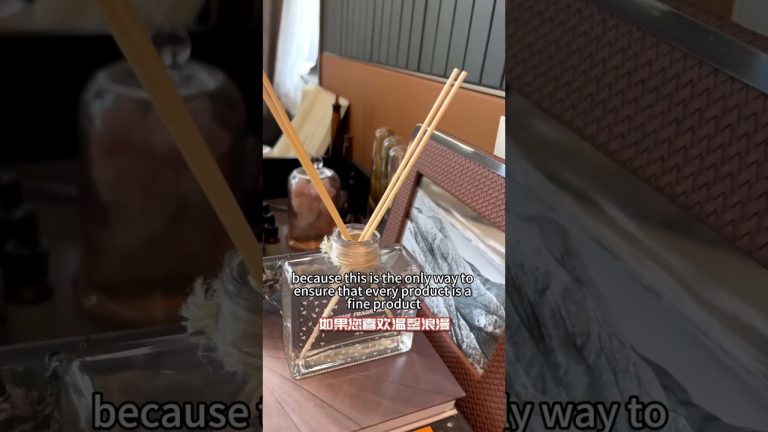
| 90-120days | لتنظيف ناشر الزيت الأساسي ، ابدأ بفصله عن مصدر الطاقة وإفراغ أي ماء وزيت أساسي من الخزان. بعد ذلك ، املأ الخزان بالماء النظيف وأضف بضع قطرات من الخل الأبيض. سيساعد الخل في تحطيم أي تراكم للزيوت العطرية وغيرها من البقايا في الناشر. من خلال النظام. بعد تشغيل الناشر باستخدام محلول الخل ، قم بإفراغ الخزان وشطفه جيدًا بالماء النظيف. قد ترغب أيضًا في استخدام فرشاة أو قطعة قماش ناعمة لتنظيف داخل الخزان بلطف لإزالة أي تراكم عنيد. |
دليل خطوة بخطوة لتنظيف عميق ناشر الزيت الأساسي
https://reedaromalab.com/tag/cheapest-reed-diffuser-best-chinese-exporterبمجرد تفكيك الناشر ، املأ خزان الماء بمزيج من الماء والخل الأبيض. تعتمد نسبة الماء إلى الخل على حجم ناشرك ، ولكن هناك قاعدة جيدة تتمثل في استخدام أجزاء متساوية من الماء والخل. دع الخليط يجلس في خزان المياه لمدة 10-15 دقيقة للمساعدة في تحطيم أي بقايا مبنية.
Aroma Diffuser تخصيص
بعد أن كان لدى خليط الخل وقت للعمل ، استخدم فرشاة ناعمة أو مسحة من القطن لتنظيف داخل خزان الماء بلطف وأي أجزاء أخرى قابلة للإزالة. تأكد من إيلاء اهتمام خاص لأي مناطق يصعب الوصول إليها أو الشقوق التي قد تختبئ فيها البقايا. بمجرد تنظيف جميع الأجزاء بدقة ، اشطفها بالماء النظيف لإزالة أي محلول خل المتبقي.
بعد ذلك ، املأ خزان المياه بالماء النظيف وقم بتشغيل الناشر لبضع دقائق للمساعدة في التخلص من أي بقايا الخل المتبقية. يمكنك أيضًا إضافة بضع قطرات من زيت الليمون الأساسي إلى الماء للمساعدة في تنشيط الناشر وترك رائحة ممتعة وراءها. بقطعة قماش مبللة لإزالة أي غبار أو نوس. أخيرًا ، قم بتوصيل الناشر مرة أخرى والتمتع برائحة جديدة ونظيفة للزيوت الأساسية المفضلة لديك مرة أخرى. من العطرية. باتباع الدليل خطوة بخطوة الموضحة في هذه المقالة ، يمكنك تنظيف الناشر الخاص بك بشكل عميق وتبقيه يعمل بسلاسة لسنوات قادمة. تذكر أن تشير إلى تعليمات الشركة المصنعة لنموذج الناشر الخاص بك وتنظيف ناشرك بشكل منتظم للحفاظ على أدائها.
After the vinegar mixture has had time to work its magic, use a soft-bristled brush or cotton swab to gently scrub the inside of the water tank and any other removable parts. Be sure to pay special attention to any hard-to-reach areas or crevices where residue may be hiding. Once you have thoroughly scrubbed all of the parts, rinse them with clean water to remove any remaining vinegar solution.
Next, fill the water tank with clean water and run the diffuser for a few minutes to help flush out any remaining vinegar residue. You can also add a few drops of lemon essential oil to the water to help freshen up the diffuser and leave a pleasant scent behind.
Once you have rinsed out the diffuser, reassemble all of the parts and wipe down the exterior of the diffuser with a damp cloth to remove any dust or grime. Finally, plug the diffuser back in and enjoy the fresh, clean scent of your favorite essential oils once again.
In conclusion, regular cleaning of your essential oil diffuser is essential to ensure that it continues to work effectively and provide you with the benefits of aromatherapy. By following the step-by-step guide outlined in this article, you can deep clean your diffuser and keep it running smoothly for years to come. Remember to refer to the manufacturer’s instructions for your specific diffuser model and to clean your diffuser on a regular basis to maintain its performance.